
The short answer: replace the failed condition, not just the grass
Patch a lawn when the damage is limited and the surrounding turf, soil level, drainage, and grade are still sound. Consider full sod replacement when failure is widespread, the surface is badly uneven, weeds or bare soil dominate, or excavation and regrading are needed across most of the area. New sod gives quick coverage, but it will not correct shade, standing water, compaction, poor soil, or traffic by itself.
- Patch: a few isolated bare or thin areas with a clear, correctable cause.
- Renovate: a usable lawn with broader compaction, thatch, fertility, or overseeding needs.
- Replace: a mostly failed surface that needs excavation, soil work, grade correction, or a consistent new finish.
Begin with a site diagnosis, not a roll count. In Surrey, Langley, and White Rock, a lawn can be dry in summer yet saturated during prolonged cool-season rain. The right scope depends on what happens through both conditions.
Read the pattern before deciding what failed

Walk the lawn and mark the pattern. A dry strip beside paving, a muddy low point, a worn route between a gate and patio, and thin grass under a dense tree have different causes. Note sun and shade, downspouts, roof-drip lines, irrigation coverage, pet routes, parked equipment, mower scalping, slopes, and edges that sit above or below adjacent paving.
Look below the blades. Check whether roots hold the turf together, whether a thick thatch layer separates grass from soil, and whether a screwdriver enters several locations with similar resistance. The Province of British Columbia notes that weeds can indicate poor fertility, compaction, drought, or waterlogged conditions. Those clues should shape the repair rather than be hidden under new sod.
- Localized pattern: investigate irrigation coverage, traffic, spills, pests, or an isolated low spot.
- Edge pattern: check heat from paving, soil depth, cutting height, and whether the edge dries faster.
- Whole-lawn pattern: assess soil, drainage, grade, shade, maintenance, and establishment history.
- Irregular lifting or animal damage: identify the cause before levelling or replacing turf.
Check moisture, drainage, compaction, and shade
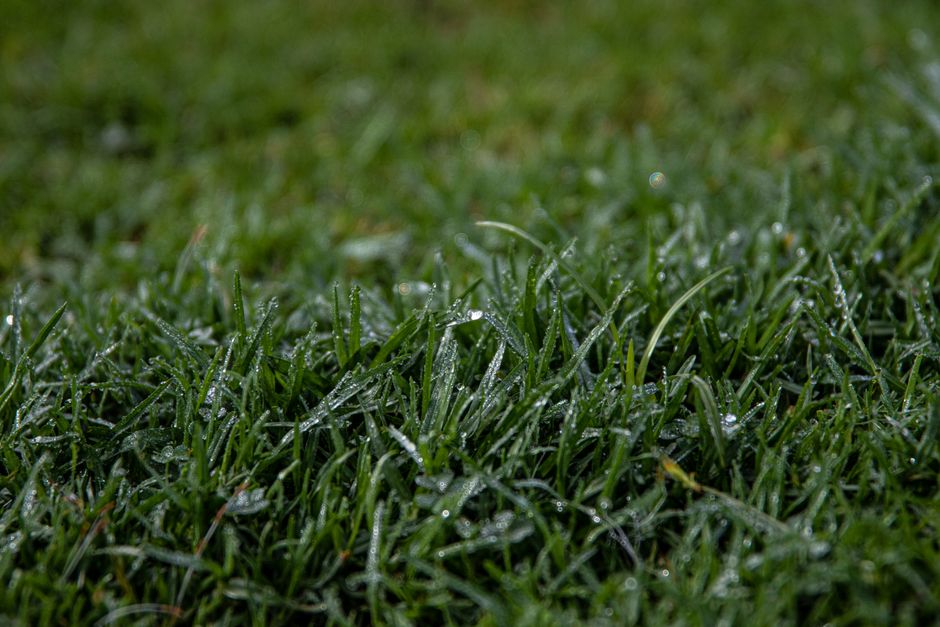
Inspect after meaningful rain and again after a dry interval. Record puddles, soft areas, runoff paths, mossy zones, and spots that remain wet longer than the rest. Then check whether water is arriving from a downspout, neighbouring grade, hard surface, irrigation zone, or buried issue. A lawn is not a drainage system; replacing it without resolving persistent saturation usually repeats the failure.
Compaction can produce the opposite-looking symptoms from the same root problem: water may pond on the surface while the root zone below receives little air. BC guidance recommends aeration for compacted or heavy clay lawns and warns that overwatering creates waterlogged conditions that kill roots. Penn State also treats soil drainage, compaction, topsoil depth, and grade as core establishment questions.
Often suitable for repair
- the surrounding turf is rooted and reasonably even;
- water drains after ordinary rain;
- the cause is local and can be corrected;
- the patch can meet existing grades without a hump or hollow.
Needs broader assessment
- water repeatedly stands or moves toward a building;
- the entire surface is compacted, rutted, or uneven;
- shade or traffic makes turf a poor fit;
- the lawful drainage outlet or buried system is unknown.
Choose patch repair, renovation, or full sod replacement
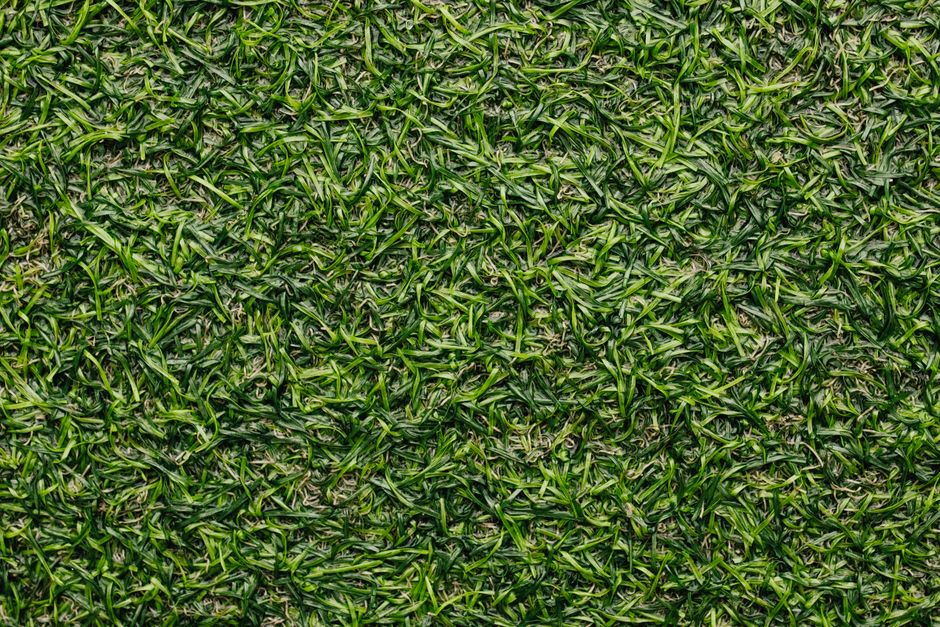
A patch is efficient when most of the lawn deserves to stay. Remove the failed material, correct the local cause, prepare the soil, and match the finished level to the existing turf. Expect a temporary colour or texture difference; the new piece and established lawn have different histories even when they use similar turf.
Renovation sits between patching and replacement. Aeration, topdressing, overseeding, mowing changes, traffic control, or a soil-test-led amendment can help when the grade and basic turf stand remain serviceable. Full replacement is more defensible when repeated patching would leave a quilt of unresolved levels and causes, or when the site needs broad excavation and soil preparation anyway.
Do not replace a lawn simply because sod is faster than diagnosis. Where deep shade, concentrated foot traffic, pet use, or chronic wetness makes turf persistently unsuitable, a path, planting bed, mulch, gravel, or another designed surface may be the more durable answer. Compare that decision with the intended use of the yard, not only with the appearance of a fresh installation.
Define removal, access, disposal, and finished levels
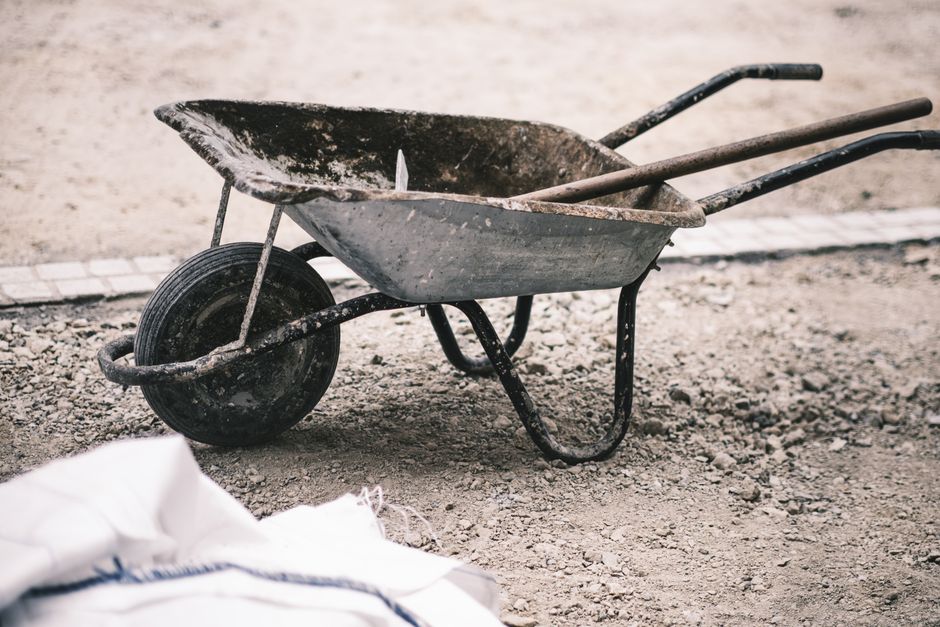
Measure the actual turf area, then identify gates, stairs, narrow side yards, protected paving, irrigation components, roots, utility covers, and places where machinery cannot travel. Atkinson’s sod service page identifies area, access, existing material, excavation, disposal, and imported soil as important scope drivers. Those are planning facts, not reasons to assume one price fits every yard.
Agree on what is being removed and where the new surface must finish. Sod and its prepared root zone need to meet patios, walks, drains, garden edges, fence gates, and mower transitions without blocking drainage or creating a trip edge. Excavating too little can leave the lawn proud of paving; removing material without a grade plan can create a basin.
- protect known utilities, irrigation heads, drains, trees, walls, and hardscape;
- confirm disposal and imported-material routes before work starts;
- mark fixed elevations and water-flow directions;
- separate cosmetic levelling from any larger drainage or structural work.
Prepare the soil and grade before sod arrives

Once failed turf and unsuitable material are removed, assess the exposed soil. Correct debris, abrupt soil layers, soft pockets, compaction, and shallow depressions before fine grading. Penn State recommends evaluating drainage, compaction, topsoil, obstacles, and grade, then using soil testing rather than appearance alone to choose amendments.
Fine-grade to a smooth, firm surface that follows the intended drainage pattern. The bed should support weight without deep footprints, but it should not be compacted into a sealed surface. Make allowance for the sod thickness so the finished grass meets adjacent surfaces appropriately. Avoid working saturated soil; smearing and compacting a wet bed can undermine the root zone before installation begins.
Do not copy a generic fertilizer, lime, sand, or compost recipe. Soil texture and test results matter, and a poorly chosen amendment can create a sharp layer that changes water movement. If runoff, buried drainage, major settlement, or grades around a building are uncertain, pause for project-specific assessment.
Lay fresh sod with tight contact and sensible seams
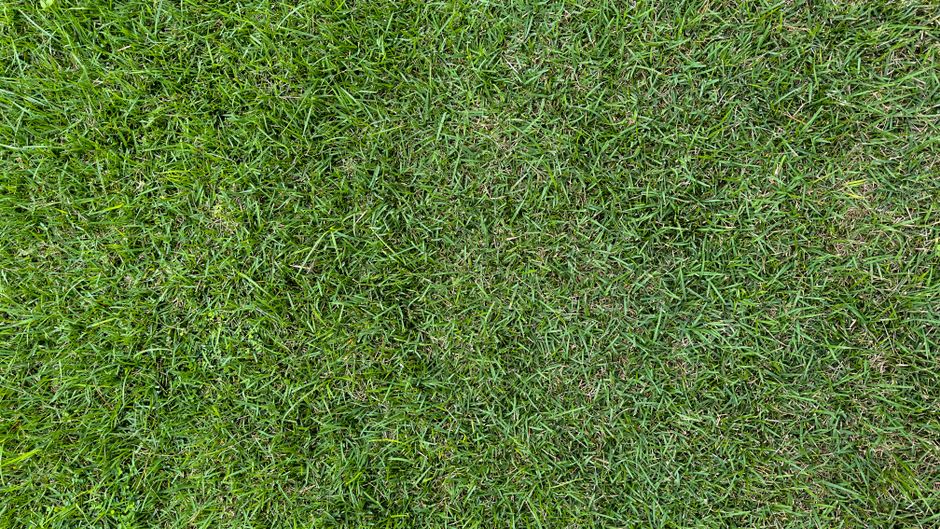
Schedule delivery after preparation is complete so sod does not sit rolled while grading continues. Purdue Extension recommends lightly moistening the soil before installation, staggering seams, and pressing sod into close contact with the soil. Place pieces tightly without stretching them; stretched sod can shrink back and expose joints.
Start from a straight reference edge and avoid creating narrow slivers where possible. On slopes, installation direction and temporary restraint need to fit the site. Keep traffic and wheelbarrows from rutting the prepared bed or shifting freshly laid pieces. After placement, inspect transitions, joints, low spots, and irrigation reach before treating the surface as complete.
- reject overheated, dry, damaged, or inconsistent material before it is spread through the yard;
- keep soil from contaminating the leaf surface and keep joints free of voids;
- cut cleanly around fixed objects instead of folding or overlapping turf;
- correct a poor level immediately rather than hoping roots will hide it.
Water for rooting without keeping the lawn saturated

Water after installation so the sod and prepared soil make moist contact, then monitor conditions rather than following one fixed clock. The goal during initial rooting is consistent moisture—not a dry edge and not a continuously saturated bed. Purdue Extension recommends thorough watering after installation and continued irrigation while the sod develops roots. Rain, shade, wind, soil, slope, sprinkler output, and season all change the schedule.
Lift a corner in several representative areas early in establishment to compare moisture beneath the sod, then stop lifting once roots begin to hold. Watch edges and sunny slopes for faster drying, and low or shaded zones for excess water. A green lawn beside a dry joint or a soft, yellowing low point can indicate uneven coverage rather than a need to water everything longer.
Metro Vancouver’s restrictions and member-municipality rules can affect new-lawn watering and permit requirements during the restricted season. Check the current rule for the property and installation date before work begins; do not assume last year’s schedule or another municipality’s permit applies.
Protect roots, time the first mow, and judge establishment
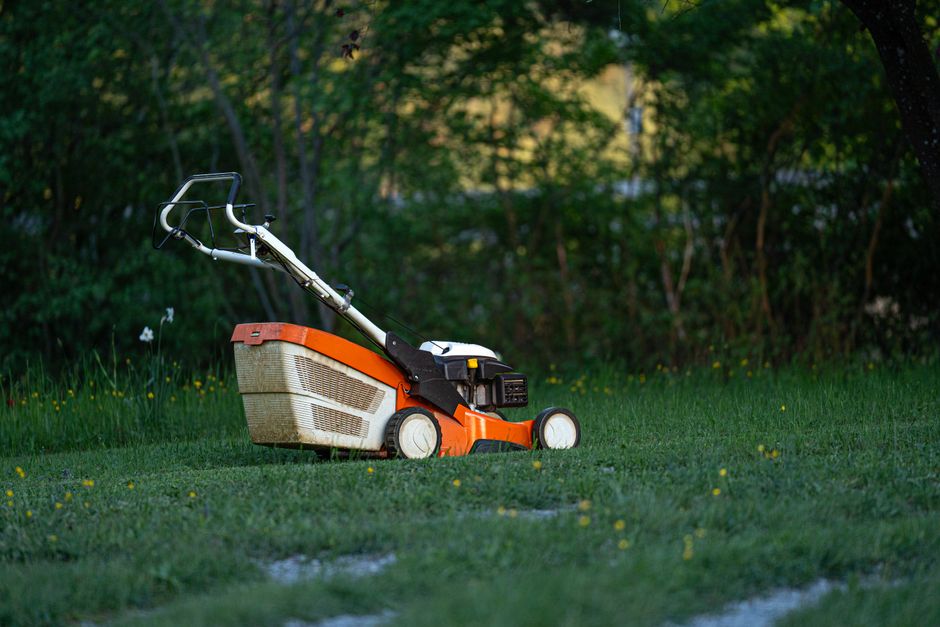
Keep unnecessary foot, pet, and equipment traffic off the new surface while roots cross into the soil. Test several locations gently for resistance rather than relying only on days since installation. Purdue Extension describes lifting a sod corner to check for new roots; local weather and site conditions still determine how quickly anchoring develops.
For the first mow, wait until the surface can support the mower without footprints, displacement, or rutting. Use a sharp blade and remove only a modest portion of the leaf. BC guidance recommends established lawns generally be maintained at 6–8 cm and cautions against removing more than one-third of the length at once. The exact first cut should also account for the sod supplier’s grass type and care instructions.
Reinspect after the first mow and after significant rain. Look for open seams, soft depressions, runoff, dry edges, poor rooting, or traffic damage while corrections are still localized. If most of the lawn remains loose, saturated, or uneven, investigate the cause instead of adding more water or fertilizer by default.
If you are weighing local repairs against excavation and replacement, contact Atkinson Landscaping with photos, rough dimensions, access details, and notes about shade and drainage. That information makes the first site discussion more useful.
References and further reading
- Atkinson Landscaping: Sod installation scope and pricing factors
- Purdue Extension: Establishing a Lawn from Sod
- Penn State Extension: Lawn establishment
- Province of British Columbia: Manage lawn and yard weeds
- Metro Vancouver: Current lawn watering restrictions